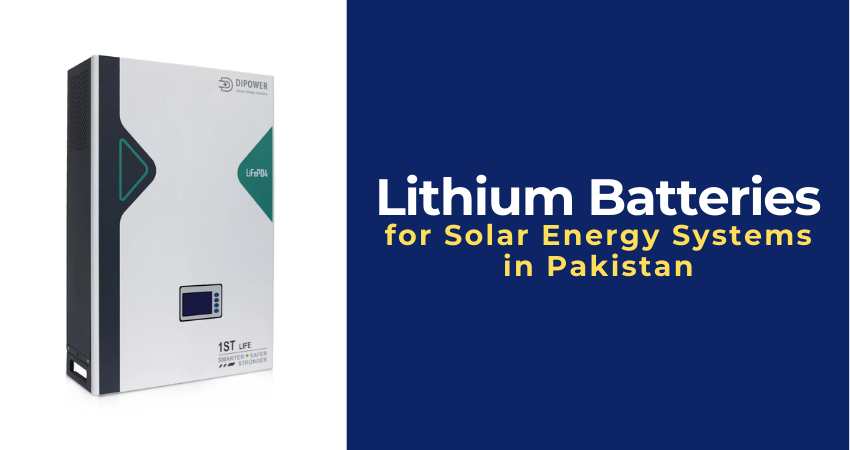
As lithium battery demand increases in Pakistan and many new players try to enter the market, the market is becoming more saturated. If there is any business with lucrative profits and easy entry and exit, everybody would jump in.
After valuation ruling on 28th January 2025, by Pakistan Custom authorities, importers have to declare the value of lithium ion batteries on its true price hence they have to pay more custom duties and taxes than before, New trend is to by SKD material from Chin and install local assembly to manufacture lithium ion batteries in Pakistan.
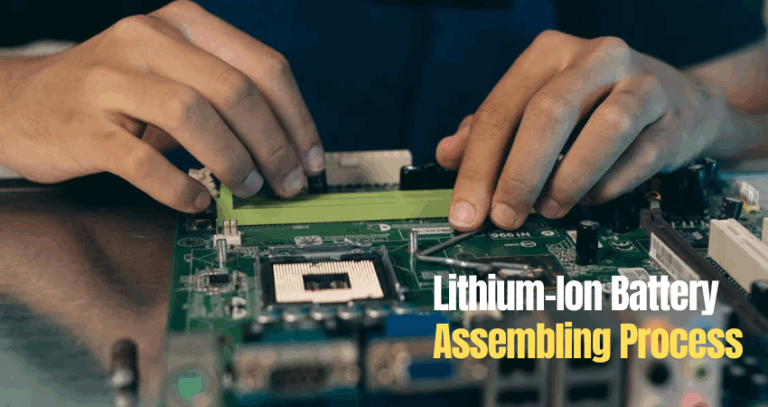
Most people do not know the assembling process and what information is required to start such a venture in Pakistan.
Also read: 10 Things You Should Know Before Buying Lithium Batteries in Pakistan.
1. Selecting & Buying the Cells from the Manufacturer
Before beginning assembly, it’s crucial to choose the right type of lithium-ion cells for your battery pack. Key factors to consider:
- Cell Type: Cylindrical (e.g., 18650, 21700), Pouch, or Prismatic.
- Voltage Rating: Standard cells are usually 3.2V or 3.6V nominal.
- Capacity (Ampere-Hour – Ah): Choose according to your energy needs.
- C-Rating (Discharge Rate): High C-rating (e.g., 1C, 2C) for power applications (EVs, tools)
- Cycle Life: Look for high-quality cells with at least 4000–8000 life cycles.
- Authenticity: Always buy from verified manufacturers to avoid fake or recycled cells. All major cell manufacturers put an authentic QR code with laser printing that describes all details about the cell’s manufacturing date, voltage, amperes, place of manufacturing, etc.
- Chinese Cell Manufacturers: CATL, BYD, EVE, CALB, Gotion, Gengfeng, Great Power, & Sunwooda
2. Testing and Balancing the Cells Before Arranging
Once the cells are received:
- Initial Voltage Check: Ensure all cells are within ±0.05V to prevent imbalance.
- Capacity Testing: Discharge test to verify actual Ah matches the rated capacity.
- Internal Resistance (IR) Test: High IR indicates degraded or faulty cells.
- Sorting & Grouping: Group cells with similar voltage, capacity, and IR for uniform performance.
3. Stacking Cells and Laser Punching
Depending on your battery pack design:
- Stacking: Align the cells in the desired configuration (series or parallel).
- Laser Punching: Use a precision laser to punch terminal holes or prepare the tabs for welding, especially for pouch cells.
Read: Difference Between 48V and 51.2V LiFePO4 Batteries
4. Stacking Cells in Battery Casing
Insert the arranged and prepared cells into a suitable battery casing. The casing should offer:
- IP20 Protection: Basic protection against fingers and solid objects.
- IP65 Protection: More advanced protection against dust and low-pressure water jets.
Assembly Steps:
-
- Secure cells with brackets/straps to prevent movement.
- Add insulation (fish paper, Kapton tape) to avoid shorts.
- Install thermal pads for heat dissipation.
Choose casing based on your battery’s application environment (indoor vs. outdoor). Battery outlook is also very important for placement, as rack and wall mounted. Secondly, most of the lithium batteries with 4 kWh or more are heavier than 40kg to 100kg, so they must be designed in a way that can be carried and moved easily.
5. Attaching BMS with Cells (BMS Wires Welding)
BMS Functions:
- Monitors voltage, current, and temperature.
- Prevents overcharge/discharge, balances cells.
Connection Steps:
- Welding BMS Wires:
- Spot-weld nickel strips to cell terminals.
- Connect sense wires to each cell group (for voltage monitoring).
- Thermistor Placement:
- Attach temperature sensors to critical cells.
- Final Check:
- Ensure no loose connections or short circuits.
6. After BMS Voltage Testing
Testing after BMS attachment is also important to resolve any issues at this stage with the testing equipment.
- Open-Circuit Voltage (OCV): Power up the battery pack and verify all cell groups are balanced.
- BMS Communication Test: Check if BMS communicates with the charger/display.
- Protection Tests: Simulate overcharge, over-discharge, and short-circuit to confirm BMS response.
7. Stabilization Test
- Let the battery rest for 12–24 hours at room temperature.
- Monitor for any voltage drops, temperature changes, or abnormalities to confirm stability.
8. Aging Test (Long-Term Reliability Check)
- High-Temperature Storage: Store at 45–60°Cfor 7–14 days to simulate aging.
- Cycle Testing (Sample Packs): Repeated charge/discharge (e.g., 100+ cycles) to check capacity retention on live conditions
- Post-Aging Inspection: Check for swelling, leakage, or voltage drop
9. Final Packing
- Secure all components with insulation and shock-absorbing materials.
- Label the battery with specifications, QR code, safety instructions, and manufacturing details.
- Finalize the packaging according to shipping or usage requirements.
10. Compliance in Pakistan for Battery Manufacturing
In Pakistan, if you would like to start assembly, you must have a registered manufacturing entity with the required factory area and documents as per local Law.
- Certification of Incorporation
- ISO 9001:2015 for Quality Management Systems
- ISO 14001:2015 for Environmental Management Systems
- IEC 62133 for Lithium battery & Cell safety
- UN 38.3(Transport Safety)
Also Read: Why Lithium Batteries Are the Best Choice for Solar Energy Systems in Pakistan?